You can set up and manage your service page sections from this panel.
You can either follow the video or follow the below steps to configure the Service Page Settings.
Contents
How to Configure Service Intro Section?
Note: When you create a Service page, Please select the Service Page template in the page attributes to get the predefined Service page template.
- Login to your WordPress Admin Panel.
- Go to Appearance > Customize > Service Page Settings > Service Intro Section.
- Click Add a Widget.
- Select the Blossom: Icon Text Widget.

- Under ” Blossom: Icon Text ” widget, enter Title, Description, upload an image or choose an icon. Enter Read More Label and Read More Link for your service. Click Done.
- Click Add more ” Blossom: Icon Text” Widgets to add more services.
- Click Publish.
![]()
How to Configure Service Page Pricing Section?
- Login to your WordPress Admin Panel.
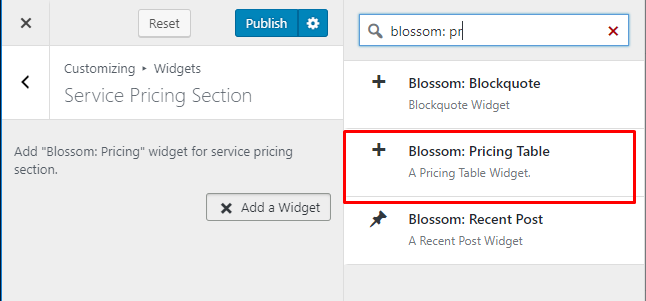
- Go to Appearance > Customize > Service Page Settings > Service Pricing Section.
- Click Add a Widget.
- Select the Blossom: Pricing Table Widget
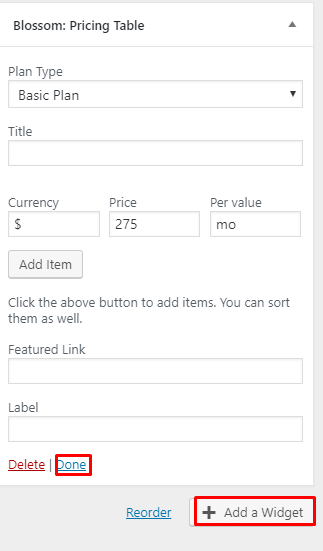
- Choose a type of plan. The pricing table with popular plan type gets highlighted. Enter title, curry, price, and per value. Click Add item to add feature list of the package. Enter Featured Link and Label. Click Done. Add more widget to enter more packages details.
- Click Publish.
How to Configure Service Text Section?
- Login to your WordPress Admin Panel.
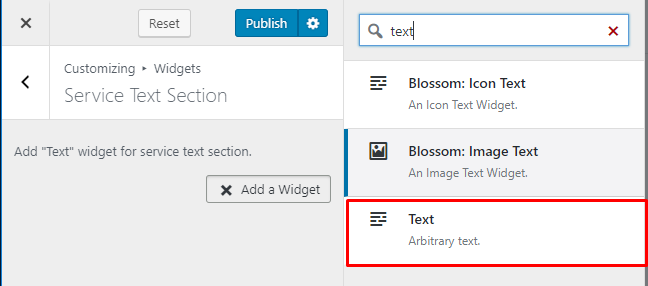
- Go to Appearance > Customize > Service Page Settings > Service Text Section.
- Click Add a Widget.
- Select the Text Widget.
- Enter title and content. Click Done.
- Click Publish.
How to Configure Service Page CTA Section?
- Login to your WordPress Admin Panel.
- Go to Appearance > Customize > Service Page Settings > Service Text Section.
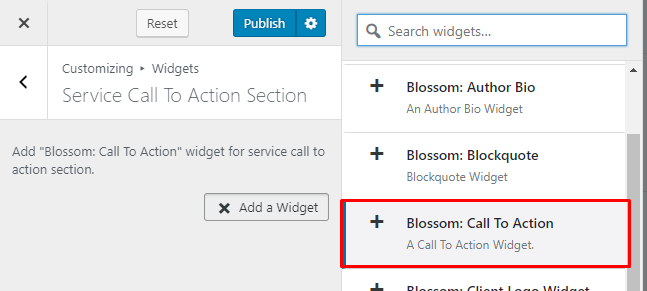
- Click Add a Widget.
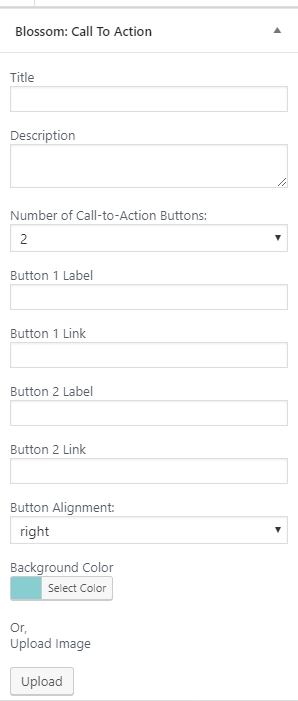
- Select the Blossom: Call to Action Widget.
- Enter Title and Description for your Call to Action Section. Choose the number of Call to Action Buttons. Enter Button 1 Label and Button 1 link. Enter Button 2 Label and Button 2 link. ( if you have selected two Call to Action Buttons). Choose Button Alignment. Choose a background color for the section or upload an image by clicking on the Upload Image button.
- Click Done.
- Click Publish.
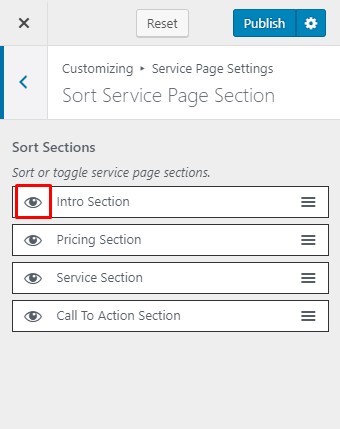
How to Configure Sort Service Section?
- Login to your WordPress Admin Panel
- Go to Appearance > Customize > Service Page Settings >Sort Service Section.
- Click on the eye icon at the beginning of a section name to enable or disable the section.
- Drag the sections up and down to arrange them.
- Click Publish.
Updated on