

You can create a navigation menu from Customizer or from Dashboard. This theme supports three menu locations– two on the header, and one on the footer.
Create a New Menu from Customizer
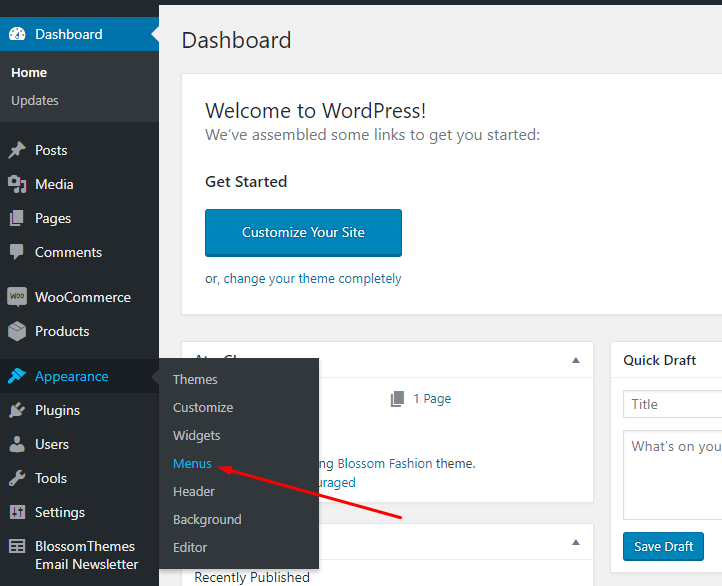
- Login to your WordPress Dashboard.
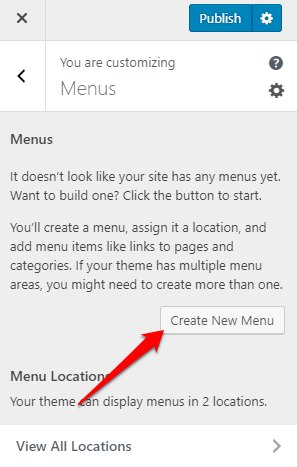
- Go to Appearance > Customize> Menus
- Click on Create a New menu button
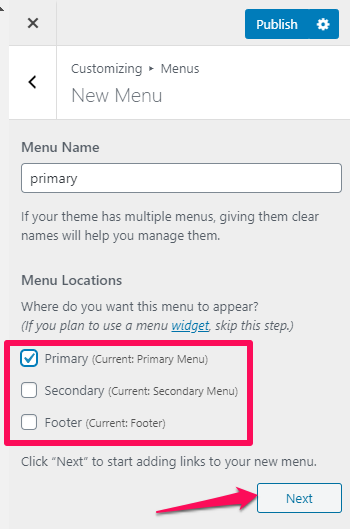
- Give a name to your menu and select the menu location.
- Click Next
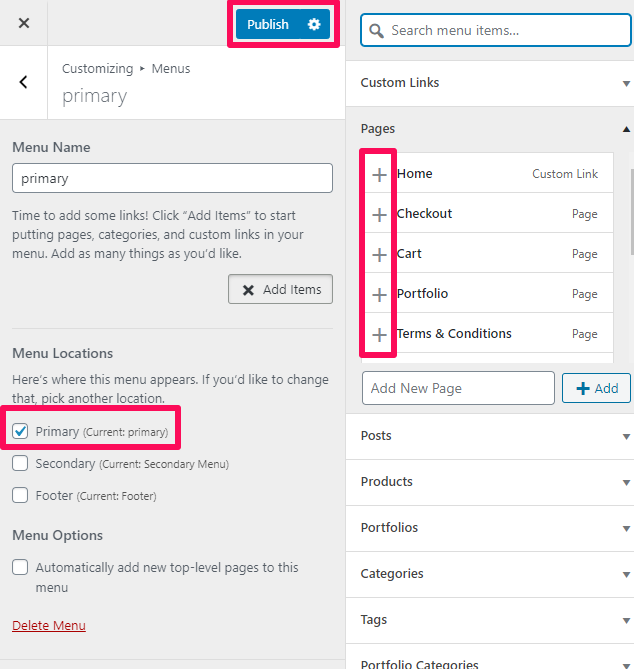
- Click “Add Items” to add items (pages, posts, categories, custom links…) to the Menu
- Click “+” icon on the items list to add the item to the menu
- Drag and Drop the added items to rearrange them
- Click Publish
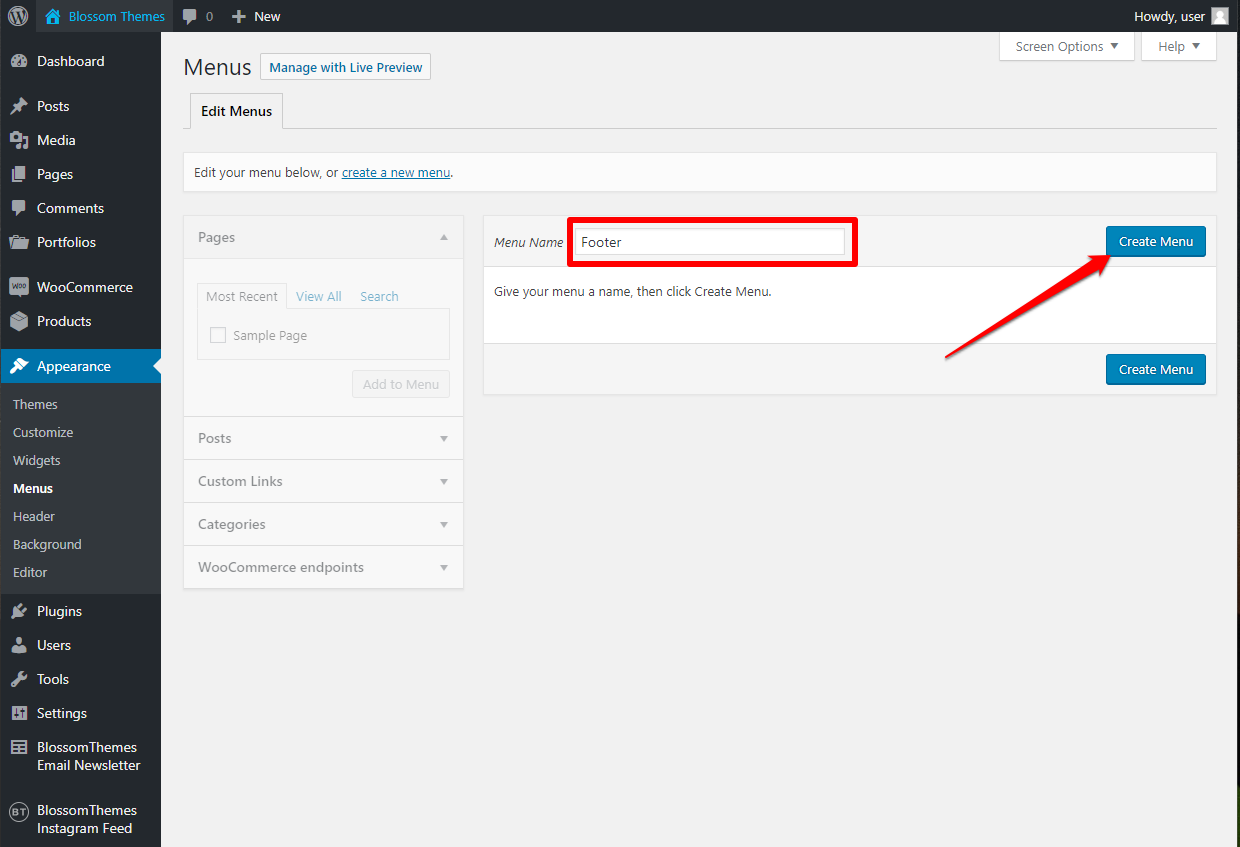
Create Menu from Dashboard
- Enter the Menu name and click on create a new menu
- Select the items from Pages, Posts, Custom Links, or Categories and click “Add to Menu”
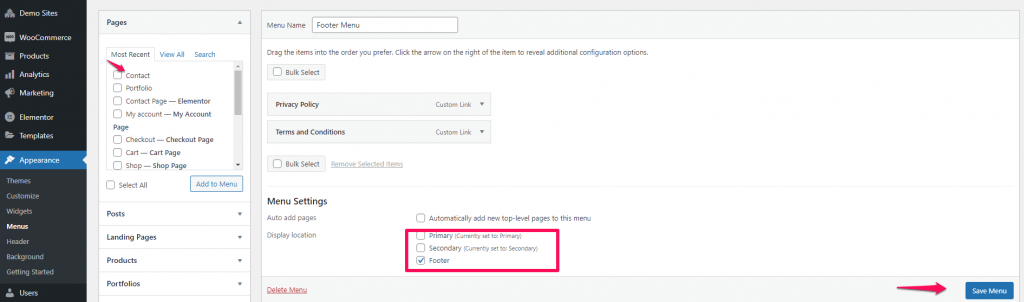
- Drag and Drop the added items to rearrange them
- Check the Menu location to Primary, Secondary, or Footer, wherever you want to display the menu.
- Click on Save Menu
For an in-depth guide on how to create menus, you can refer to WP HelpGuide tutorial.
Updated on