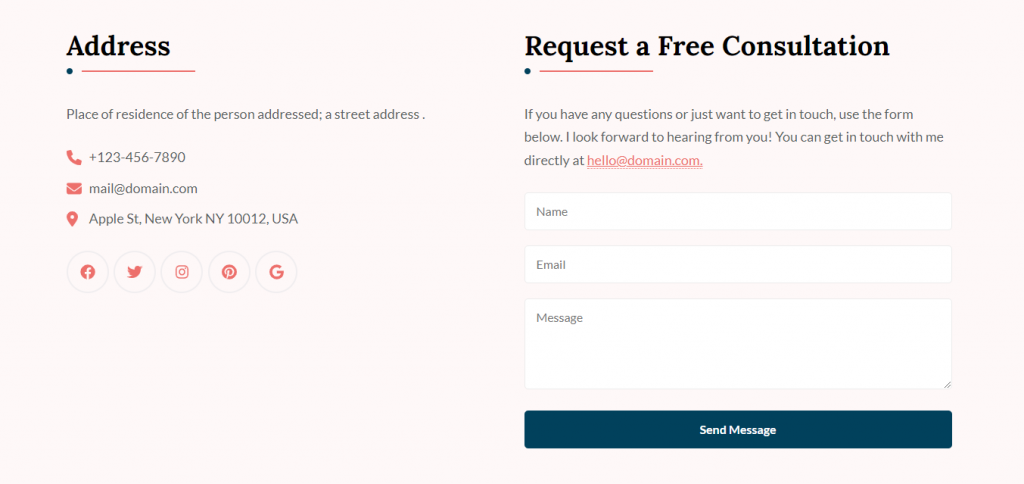
You can follow the below steps to configure the Contact Section on the homepage.
Note: Make sure you have installed and activated the BlossomThemes Toolkit plugin for this section to work as desired.
- Go to Appearance > Customize > Front Page Settings > Contact Section.
- Click Add a Widget.
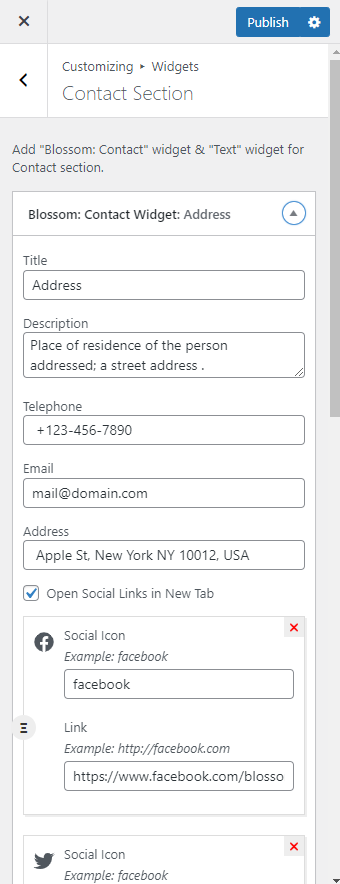
- Select the Blossom: Contact widget.
- Enter your title, description, telephone, email, and address.
- Check Open Social Links in New Tab to open social links in the new tab.
- Click on Add Social Icon. Search and select the desired social icon and enter their respective link. You can add more social icons by clicking “Add Social Icon”.
- Click on Done.
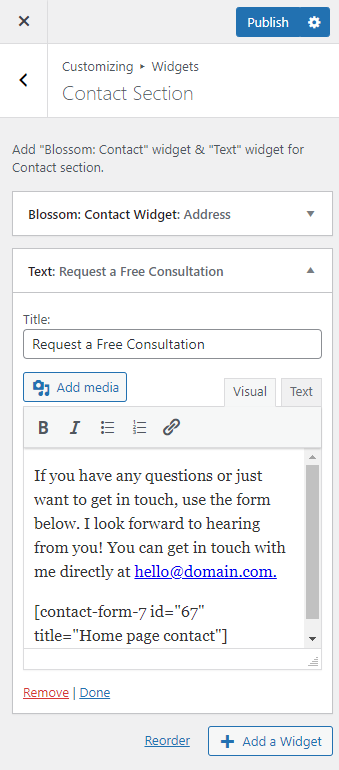
- Click Add a widget. Add a Text widget.
- Enter Title, Text, and Contact Form 7 Id. (Please install, activate and use the Contact form 7 plugin to generate a shortcode for the form)
- Click Publish.
Add/Configure Contact Form
You must install and activate Contact Form 7 Plugin to add or configure contact forms. After you activate the plugin, follow these steps.
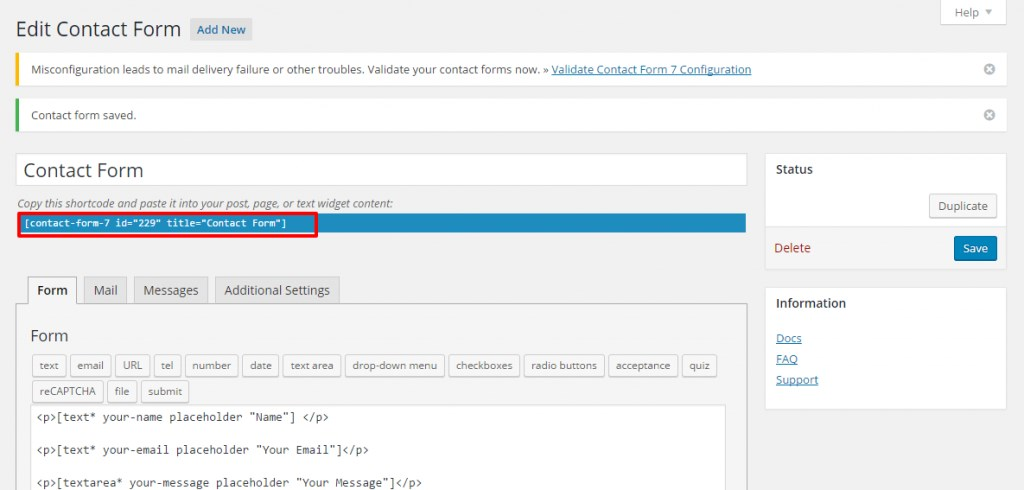
- Go to Dashboard > Contact > Add New
- Enter the name of the contact form in the title section. Configure other settings according to Contact Form 7 Documentation
- Enter the Fields and Labels for the contact form in the Form tab
- In the Mail tab, you can configure the email address for receiving the emails from the contact form
- In the Messages tab, you can edit the various messages for the form.
- In the Additional Settings tab, you can add extra code to modify the contact form.
- Click Save to update the changes.
- Copy the shortcode generated and paste it into the Text widget in the Appearance > Customize > Frontpage Settings > Contact Section.