You can either follow the video or follow the below steps:
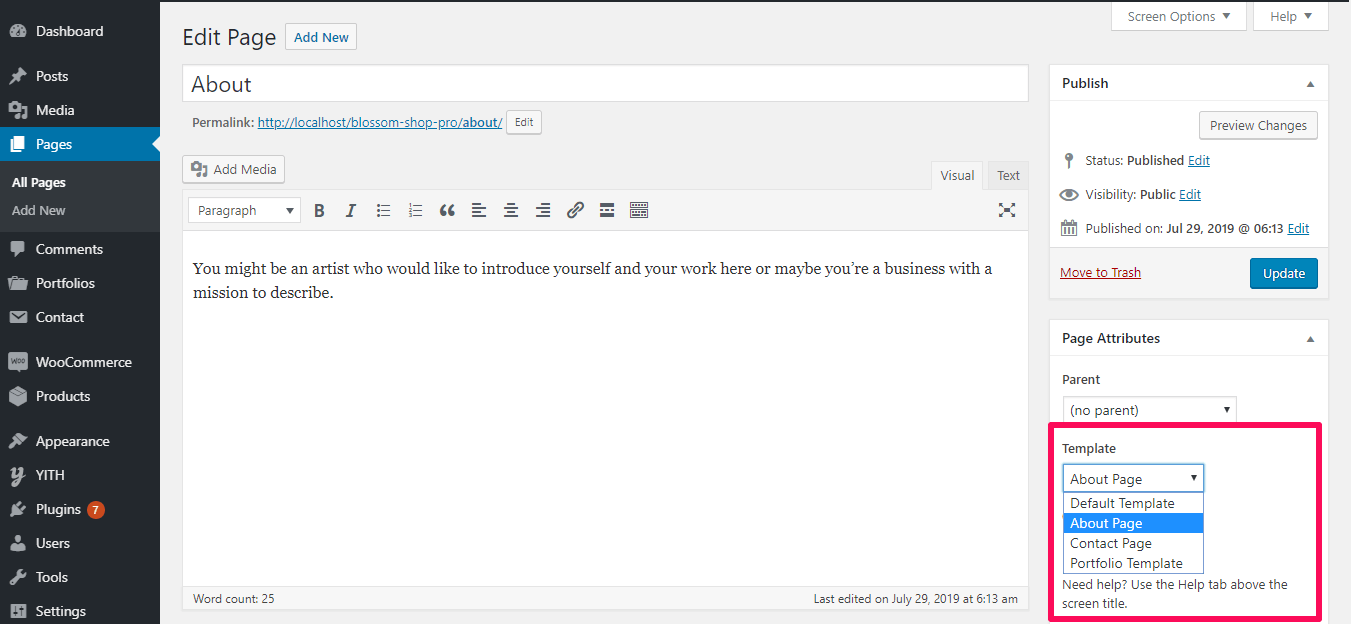
Note: When you create an About page, Please select the About Page template in the page attributes to get predefined About template.
You can set up and manage your About page and widgets from this panel.
Contents
How to Configure About Template Section?
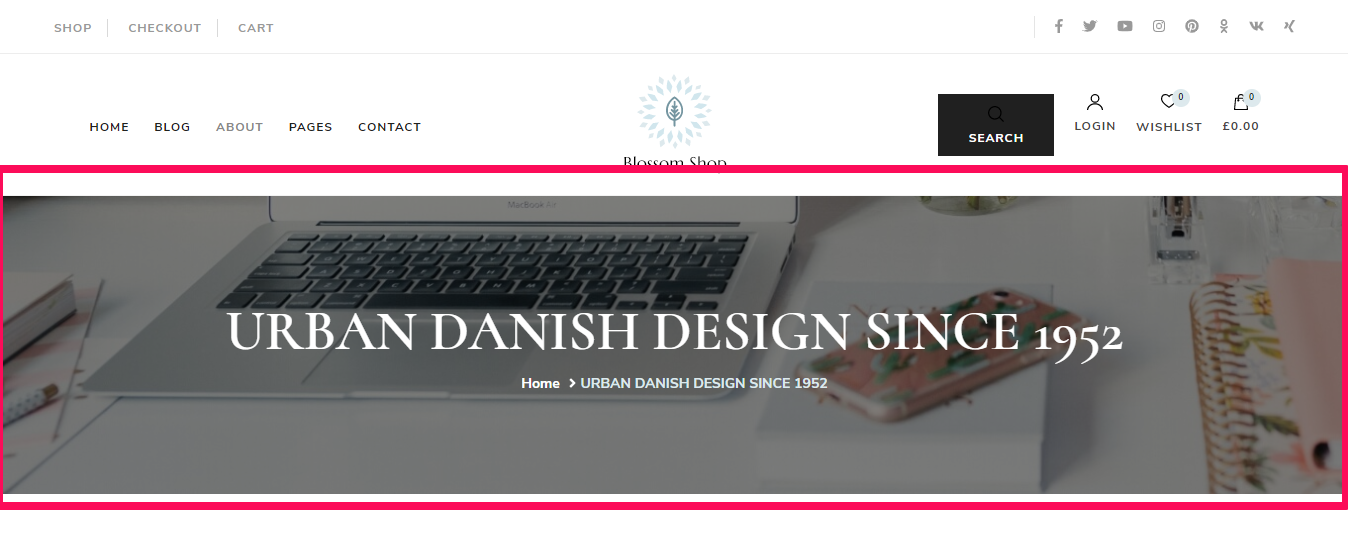
Please follow the below steps to configure Template section for your About page.
- Go to Appearance > Customize > About Page Settings > About Template Section.
- Add the Background Image.
- Click Publish.
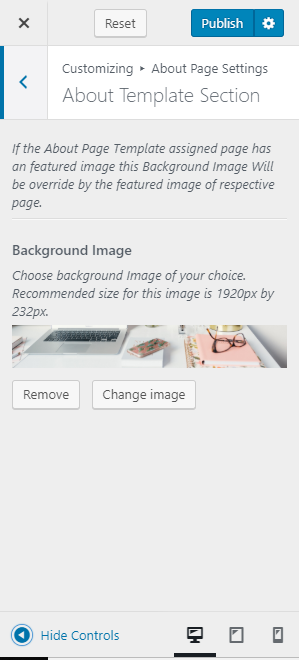
Note: If the About page template assigned page has a featured image and the background image is set, then the background image will be overridden by the featured image.
How to Configure About Page Intro Section?
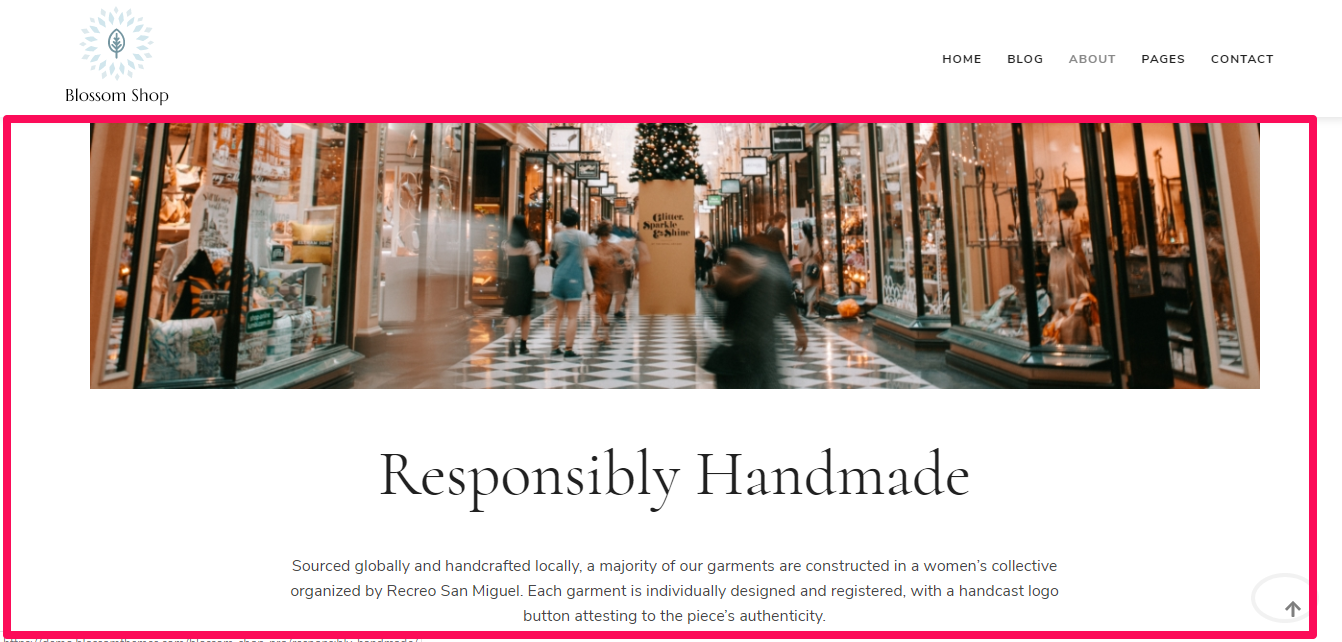
Please follow the below steps to configure Introduction section for your About page.
- Go to Appearance > Customize > About Page Settings > About Intro Section.
- Click Add a Widget.
- Select the Blossom: Featured Page Widget.
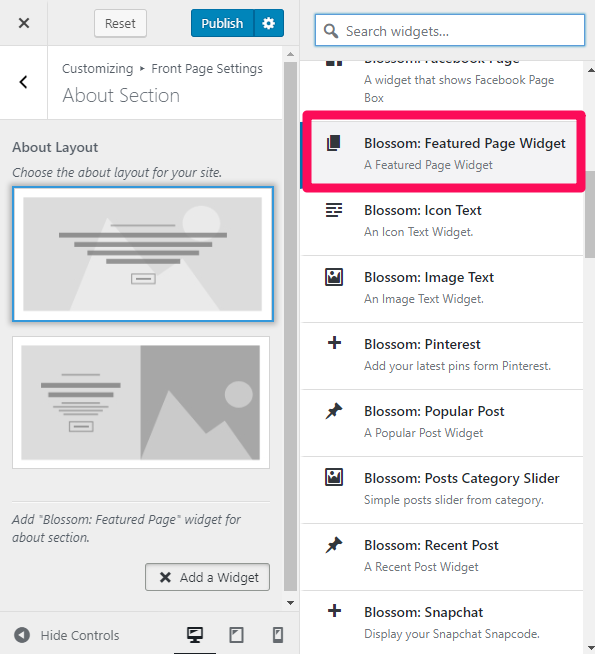
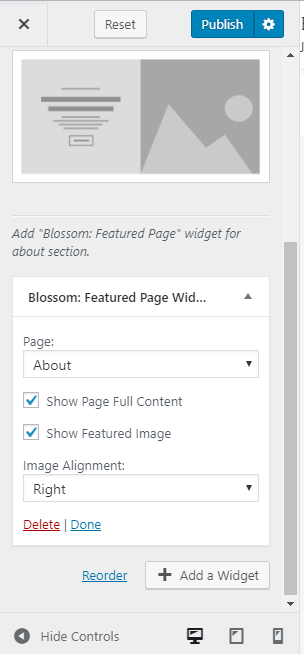
- Choose a page for the section.
- Check to show full page content and show the featured image of the page in the section
- Choose the Image Alignment
- Check to show Read More button. Enter Read More Label.
- Click Done
- Click on Publish
How to Configure About Testimonial Section?
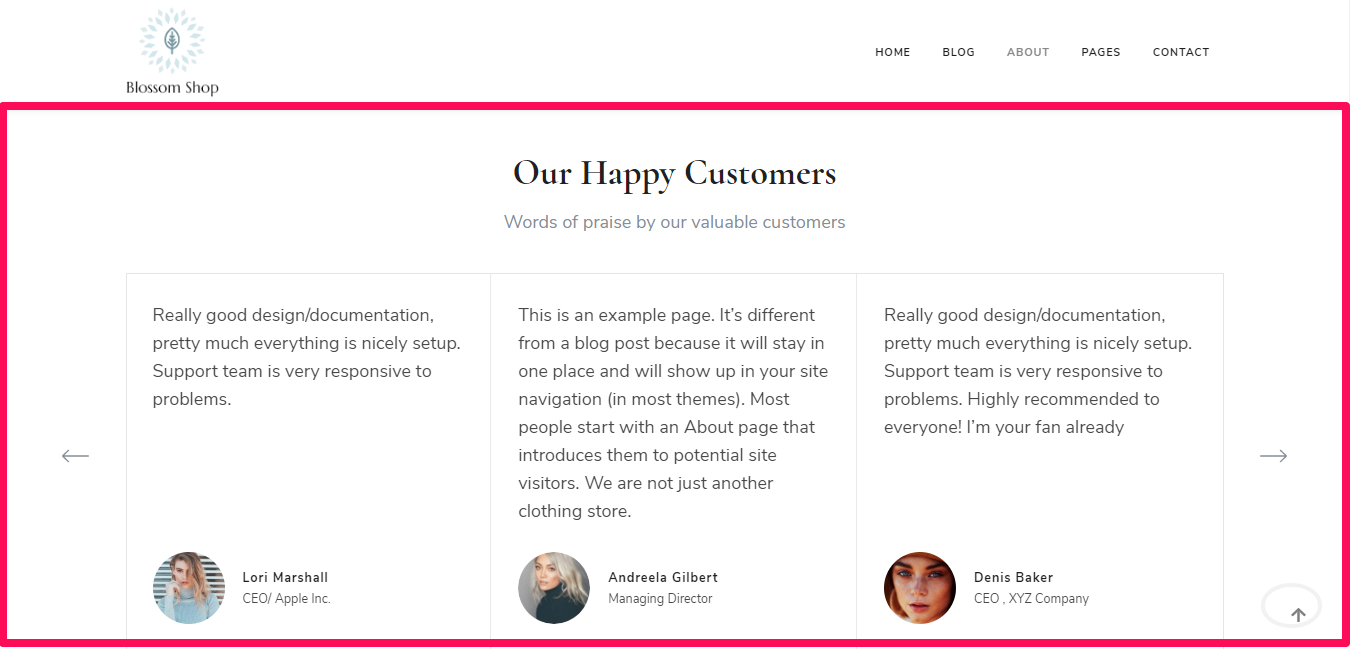
Please follow the below steps to configure About Testimonial Section.
- Go to Appearance > Customize > About Page Settings > About Testimonial Section.
- Add the Testimonial Section Title and Testimonial Section SubTitle.
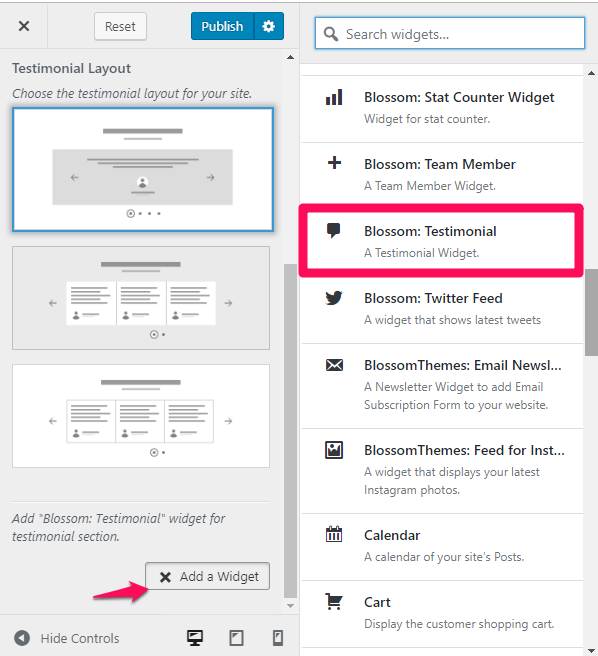
- Click Add a Widget.
- Select the Blossom: Testimonial Widget.
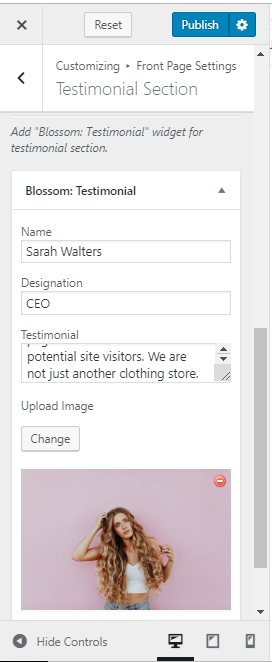
- Add “Name”, “Designation”, “Testimonial” and upload the image.
- Add as many testimonials you want in a similar way.
- Click Publish.
How to Configure About Client Section?
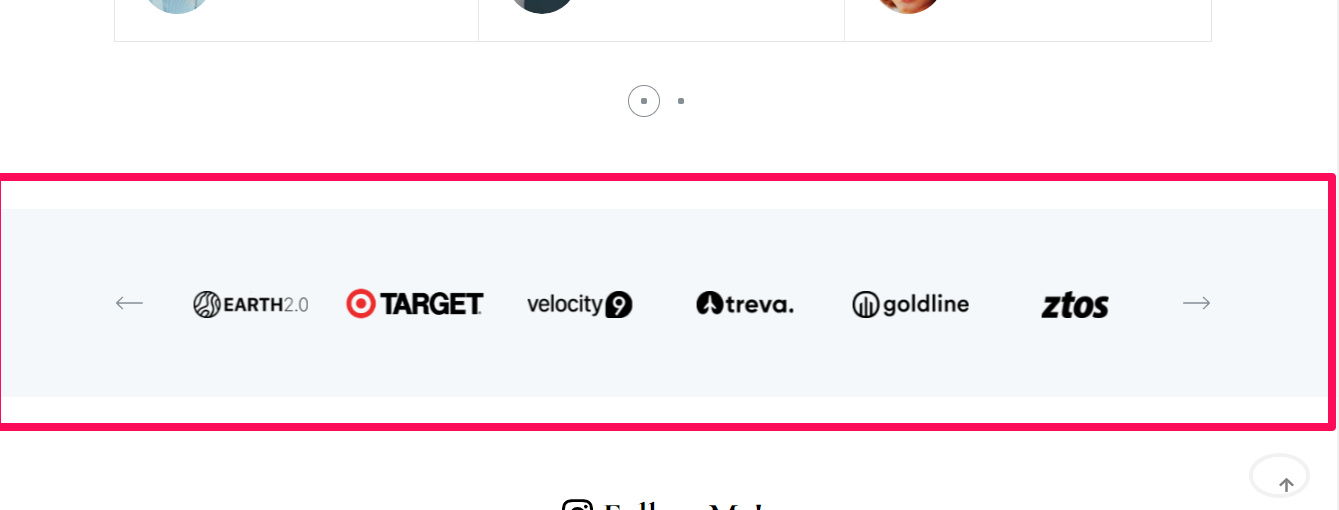
Please follow the below steps to configure About Client Section.
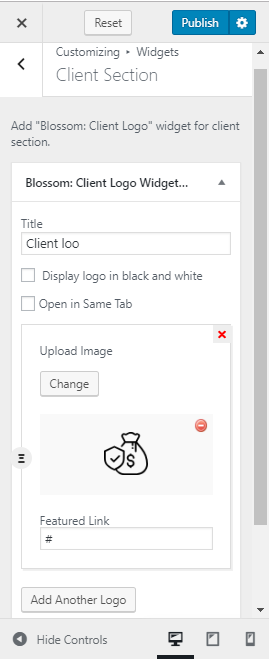
- Go to Appearance > Customize > About Page Settings > About Client Section.
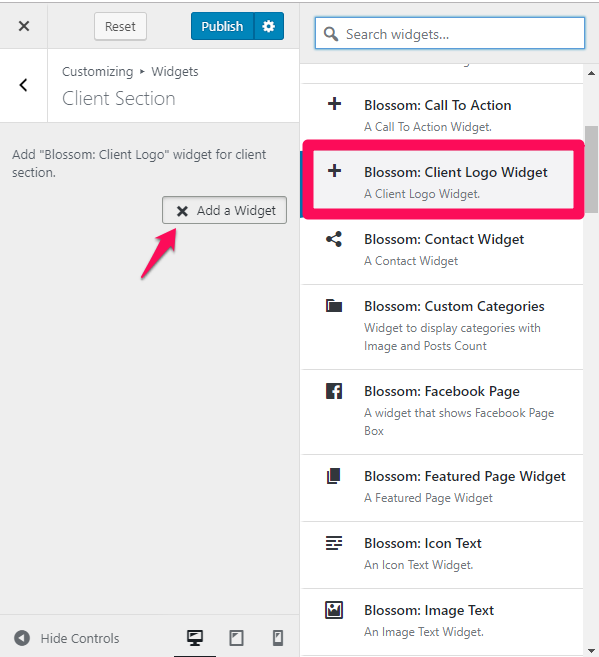
- Click Add a Widget.
- Select the Blossom: Client Logo Widget.
- Add “Title” of the Client Section.
- Check display logo in black and white if you want the logo to be displayed in black and white.
- Click “Add another Logo” to upload the logo.
- Upload the image and add the featured link.
- Add as many Client logos as you want in a similar way.
- Click Publish.
