You can follow the below steps to configure the Call To Action Section.
- Login to your WordPress Admin Panel
- Go to Appearance > Customize > Front Page Settings > Call To Action Section
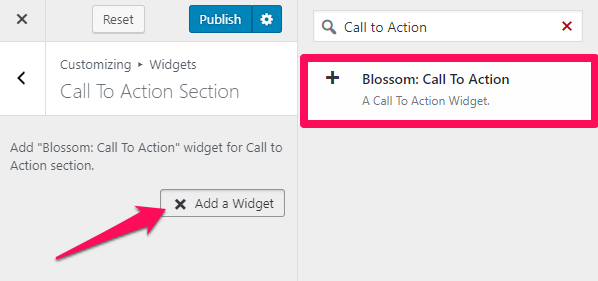
- Click on Add a Widget
- Select Blossom: Call To Action Widget
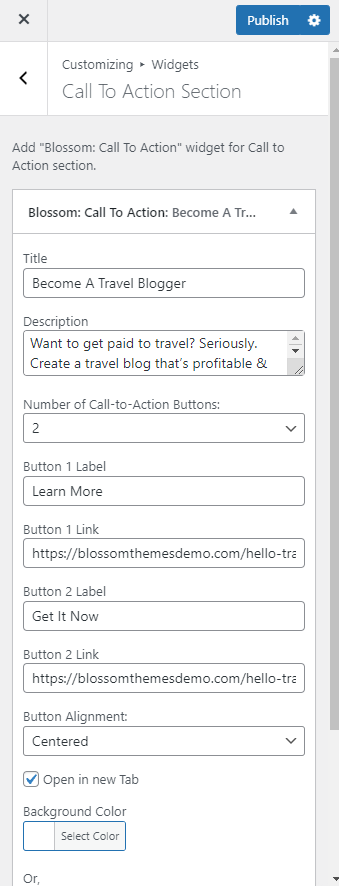
- Enter the Section Title and Description
- Select the Number of Call-to-Action Buttons you want to display
- Enter the button label and button link
- Select the Button Alignment
- Check/Uncheck the option to Open the link in new Tab
- Select the Background Color or Upload Image
- Click on Done
- Click on Publish