You can display widgets on the footer of your site. To configure the footer area similar to the demo site, you can refer to the instructions below.
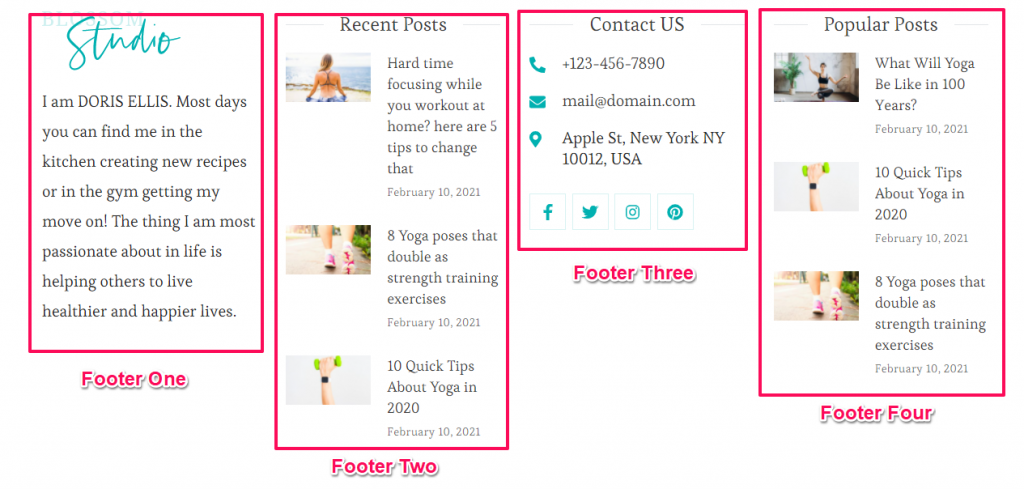
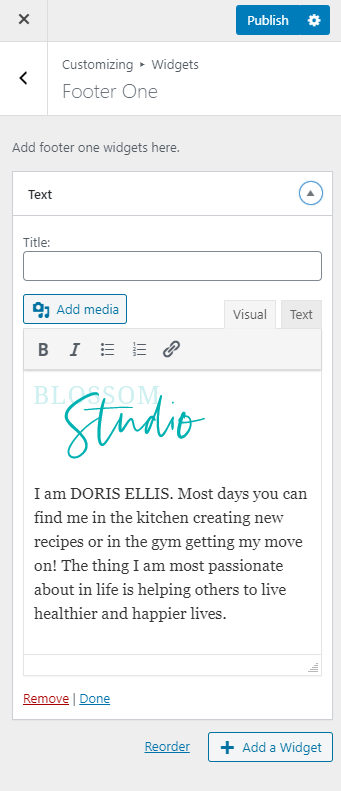
- Go to Admin Dashboard > Appearance > Customize > Widgets > Footer One.
- Click on Add a Widget and add the Text Widget.
- Upload the Logo and enter the short Description.
- Publish the Changes.
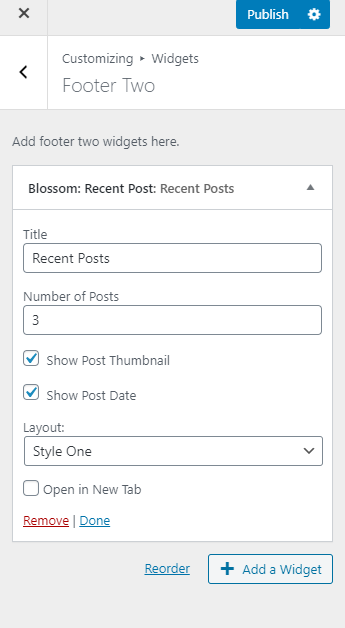
- Go to Admin Dashboard > Appearance > Customize > Widgets > Footer Two.
- Click on Add a Widget and add the Blossom: Recent Post Widget.
- Enter the Title of the widget and select the number of posts.
- Checkmark Show Post Thumbnail and Show Post Date.
- Select the Layout of the widget.
- Publish the Changes.
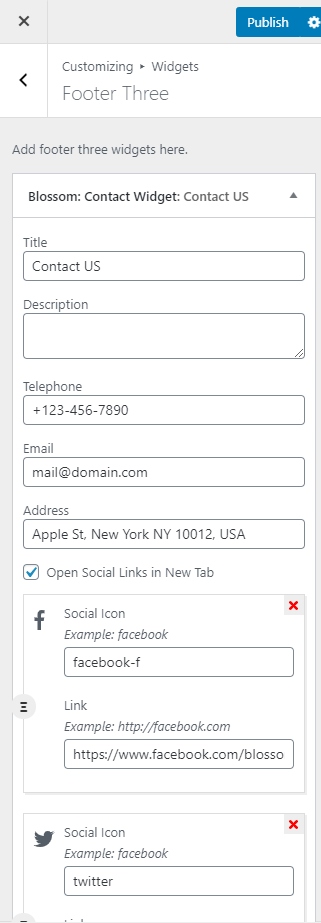
- Go to Admin Dashboard > Appearance > Customize > Widgets > Footer Three.
- Click on Add a Widget and add the Blossom: Contact Widget.
- Enter the Title, Description, Telephone, Email, Address.
- Click on Add Social Icon and search for the social icon and enter the link.
- Publish the Changes.
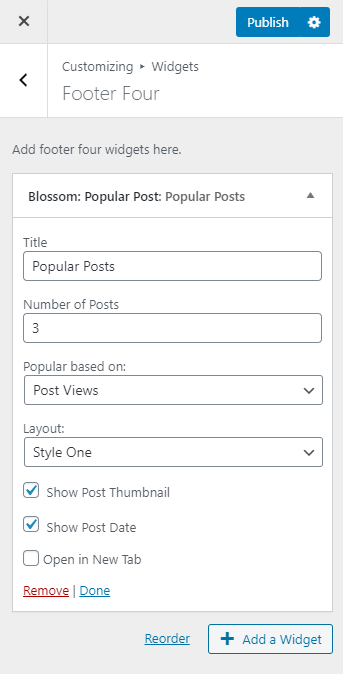
- Go to Admin Dashboard > Appearance > Customize > Widgets > Footer Four.
- Click on Add a Widget and add the Blossom: Popular Post.
- Enter the Title, select the number of posts, post views, and layout.
- Checkmark Show Post Thumbnail, Show Post Date.
- Publish the Changes.