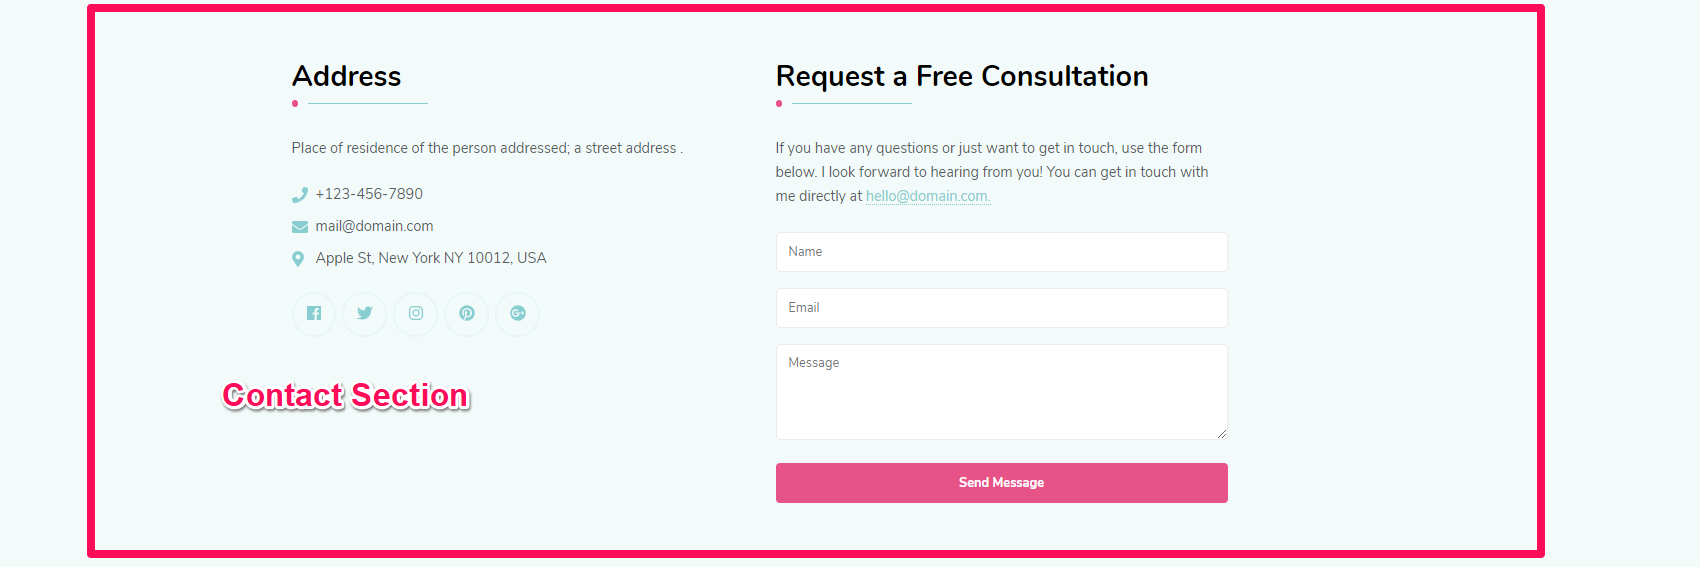
You can set up the contact form and other methods to contact you in this section of the homepage.

Please follow the below steps to configure the contact section on the homepage of your website.
Note: Make sure you have installed and activated BlossomThemes Toolkit plugin for this section to work as desired.
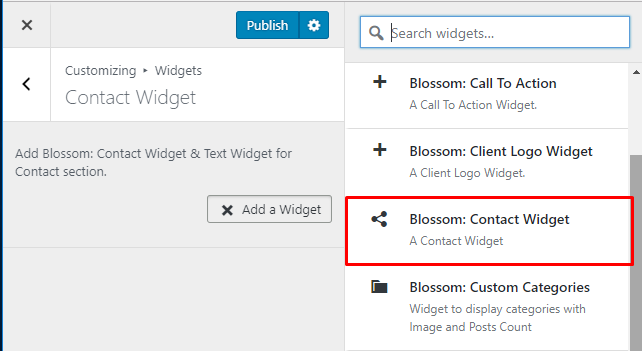
- Go to Appearance > Customize > Front Page Settings > Contact Section.
- Click Add a Widget.
- Select the Blossom: Contact widget.

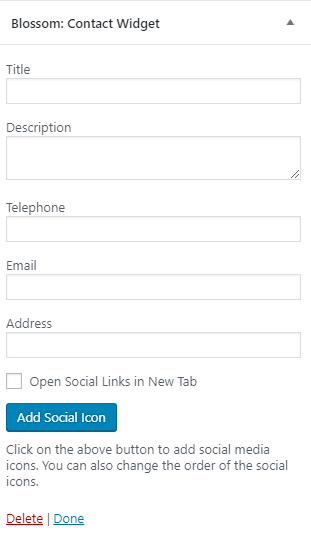
- Enter your title, description, telephone, email, and address.
- Check Open Social Link in New Tab to open social link in new tab.
- Click on Add Social Icon. Search and select the desired social icon and enter their respective link. You can add more social icons by clicking “Add Social Icon”.
- Click on Done.

- Click Add a widget. Add a Text widget.
- Enter Title. Text and Contact Form 7 Id. ( Please install, activate and use Contact form 7 pluginto generate shortcode for the form)
- Click Publish.
Add/Configure Contact Form
You must install and activate the Contact Form 7 Plugin to add or configure contact forms. After you activate the plugin, follow these steps.
- Login to your WordPress Admin Panel.
- Go to Dashboard>Contact> Add New
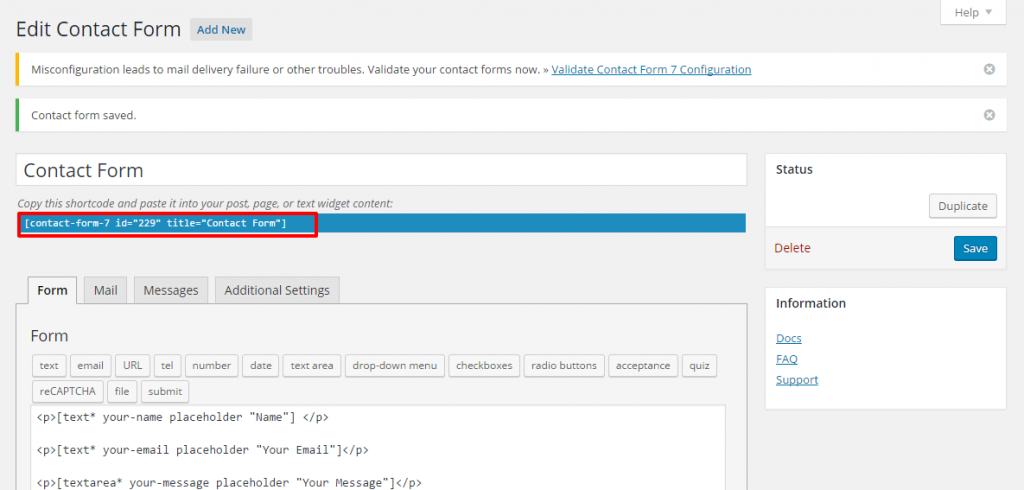
- Enter the name of the contact form in the title section. Configure other settings according to Contact Form 7 Documentation
- Enter the Fields and Labels for the contact form in the Form tab
- In the Mail tab, you can configure the email address for receiving the emails from the contact form
- In the Messages tab, you can edit the various messages for the form.
- In the Additional Settings tab, you can add extra code to modify the contact form.
- Click Save to update the changes.
- Copy the shortcode generated and paste it in the Text widget in the Appearance> Customize> Frontpage Settings> Contact section.

